#3 Remix 세팅하기 & 기본 UI 만들기
드디어 코딩을 시작했다😎
Table Of Contents
프로젝트 시작하기
터미널에 아래 커맨드를 입력해서 Remix 프로젝트를 시작한다
npx create-remix@latest
나중에 Cloudflare Pages로 배포할거니까 그 부분만 신경써줬다. 다른 서비스로 배포하려면 원하는 서비스를 선택해 주면 된다. 미정이라면 우선 기본 설정으로 시작하자.
? Where would you like to create your app? ./blog ? What type of app do you want to create? Just the basics ? Where do you want to deploy? Choose Remix App Server if you're unsure; it's easy to change deployment targets. Cloudflare Pages ? TypeScript or JavaScript? TypeScript ? Do you want me to run npm install? Yes
Remix 프로젝트를 로컬에서 돌리려면 아래처럼 입력해주면 된다. 그러면 localhost:8788 포트에서 프로젝트를 확인할 수 있다.
npm run build
npm start
스타일링
global 스타일 적용하기
항상 적용하는 코드가 있어 이 부분을 적용해주겠다.
@import url("https://cdn.jsdelivr.net/gh/orioncactus/[email protected]/dist/web/static/pretendard.css");

body,
* {
  box-sizing: border-box;
  margin: 0;
  padding: 0;

  font-family: "Pretendard";
}
root.tsx에서 이렇게 스타일을 불러와주면 된다.
import styles from "@styles/global.css";
export const links: LinksFunction = () => [{ rel: "stylesheet", href: styles }];
emotion 적용하기
저번 프로젝트에서 emotion을 사용해봤는데 좋았어서 이번 프로젝트에서도 적용하려고 한다.
npm i @emotion/react
를 입력해서 emotion을 설치해주자.
emotion을 사용하기 위해서 tsconfig.json 파일에 아래처럼 내용을 추가해주자
{
	...
  "compilerOptions": {
	  ...
    "jsxImportSource": "@emotion/react",
  }
}
이렇게 하면 아래처럼 css를 적용할 수 있게 된다.
<div css={{ background: "black" }} />
기본 UI 만들기
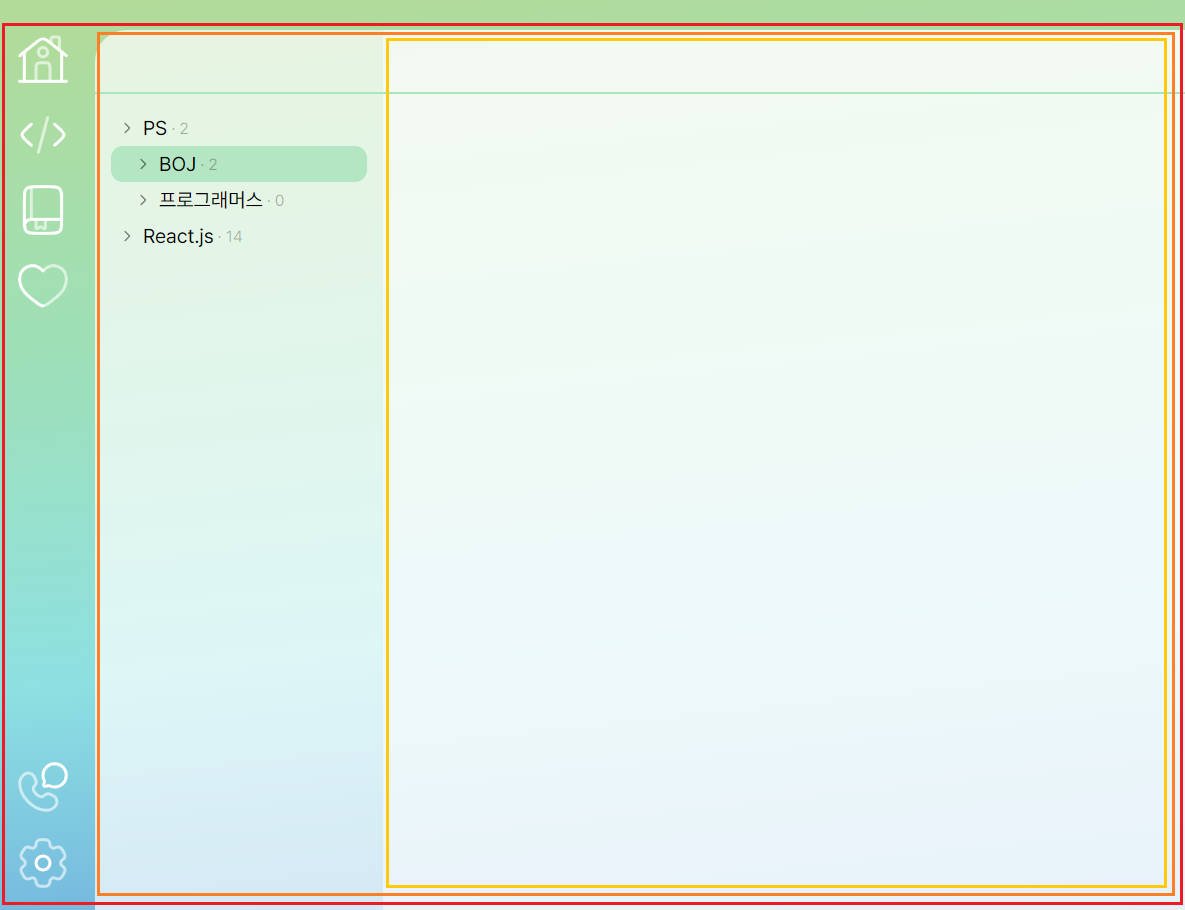
컴포넌트를 최종적으로는 이렇게 나눌 예정이지만 우선 한 파일에 몰아서 작성해주었다.
export default function SubBlog() {
  const [isCategoryOpen, setIsCategoryOpen] = react.useState(true);

  return (
    <main css={background}>
      <MenuBar />

      <div css={categoryContainer}>
        <CategoryList isOpen={isCategoryOpen} />

        <div css={contentContainer}>
          <div css={headerContainer} />
        </div>
      </div>
    </main>
  );
}
카테고리는 나중에 열리고 닫히게 만들 예정이므로 isCategoryOpen 변수를 생성해 놓았다.